第一次使用Github + Hexo搭建博客
偶然看到一个大神的文章,讲到怎么使用GitHub跟Hexo搭建博客,便依照大神给的方法尝试了一遍,便有了今天这个博客。大神的博客链接
环境: Win10
前期准备
安装必要工具
- node.js
- git
- github账号
创建自己的github.io
登录你注册号的github账号,在账户下创建一个特殊的仓库(repo),命名是固定的:your_github_id.github.io
生成公私钥
安装好Git软件后,在cmd命令行中生成SSH keys。
ssh-keygen -t rsa -C "emain_address@youremail.com"
Generating public/private rsa key pair.
Enter file in which to save the key (C:\Users\your_user_directory/.ssh/id_rsa)::
然后系统会要求你输入秘钥名字,按回车就好,接着按照提示输入密码即可。
Your identification has been saved in C:\Users\your_user_directory/.ssh/id_rsa.
Your public key has been saved in C:\Users\your_user_directory/.ssh/id_rsa.pub.
The key fingerprint is:
SHA256:UWMR/4HrfxACapJAMSyi2aCBcsvsAU1VDw1TBtwmE8c emain_address@youremail.com
The key's randomart image is:
+---[RSA 2048]----+
|      .+*.+ .oo. |
|       . * ..o.  |
|        o oE +o  |
|        oo+.+.o  |
|       oS= =.. . |
|      o B o     .|
|       * o. ..  +|
|      . .. ...oo+|
|        .. .o===B|
+----[SHA256]-----+
配置SSH Key到GitHub
- 打开本地 C:\Users\your_user_directory/.ssh/id_rsa.pub文件,复制文件里的公钥内容。
- 登录github系统,点击页面上 左上角个人图标 -> Settings -> SSH keys -> ADD SSH Key
- 把刚刚复制的密钥复制到Key文本框中,点击add key就ok了
测试密钥是否能访问(当前目录下的密钥文件:blog_ssh)
ssh -i blog_ssh git@github.com如果密钥设置了密码访问,则按照提示输入密码,出现以下提示表示访问成功了。
E:\Blog\blog\doc>ssh -i blog git@github.com
Enter passphrase for key 'blog':
PTY allocation request failed on channel 0
Hi your_github_id! You've successfully authenticated, but GitHub does not
  provide shell access.
Connection to github.com closed.
Hexo使用
安装Hexo
在你要创建博客的目录下,鼠标右键,打开 gitbash
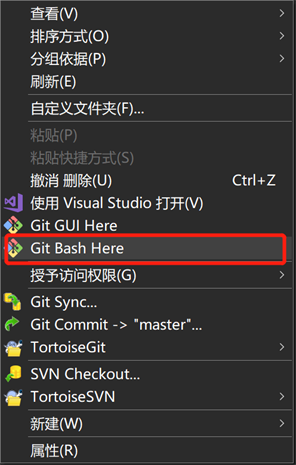
在打开的MINGW64窗口输入以下指令安装Hexo(先安装了node.js才能使用npm指令)
npm install -g hexo部署Hexo
新建一个Blog文件夹,然后在该文件夹打开Git Bash
hexo init
npm install
Hexo会在这个目录下自动创建建立博客网站需要的文件。
然后我们可以通过执行下面指令,预览本地博客,本地地址:localhost:4000
hexo g
hexo s
设置部署到Github前,需要先安装部署插件 hexo-deployer-git
npm install hexo-deployer-git --save修改Blog根目录下的_cofig.yml配置文件。
deploy:
  type: git
  repository: git@github.com:qq317423892/qq317423892.github.io.git
  branch: master
执行后就可以使用下列指令部署,注意部署会覆盖你之前在版本库中存放的文件,如果有文件不想被覆盖,可以放到Blog/source目录例如:Blog/source/CNAME
hexo clean
hexo g
hexo d
或者使用组合命令
hexo clean
hexo d -g
hexo clean 清理生成的文件
hexo g 或者 hexo generate 可以生成网站文件
hexo s 或者 hexo server 可以启动本地服务器
注意在gitbash中部署时,要手动添加密钥,可以使用下面指令
#启动ssh服务
eval $(ssh-agent -s)

# 添加ssh文件: c:\Users\your_user_name\.ssh\blog_ssh
ssh-add /c/Users/your_use_name/.ssh/blog_ssh
更换主题NexT
在blog目录下拉取Next主题资源
git clone https://github.com/iissnan/hexo-theme-next themes/next打开blog跟目录配置文件:_cofig.yml,找到theme选项,改成next
# Extensions
## Plugins: https://hexo.io/plugins/
## Themes: https://hexo.io/themes/
theme: next
由于Hexo在5.0版本把swig给删除了,需要自己手动安装:hexo-renderer-swig
npm install hexo-renderer-swig即可解决下面的渲染报错
站点概况
这里对应根目录下的配置文件:_config.yml
# Site
title: 十三
subtitle: '安心学技术'
description: Watch and learn, your magic is mine!
keywords: "Unity, UE4"
author: 小贤
language: zh-CN
这里对应的是next目录下的配置文件:_config.yml
显示头像
# Sidebar Avatar
# in theme directory(source/images): /images/avatar.gif
# in site directory(source/uploads): /uploads/avatar.gif
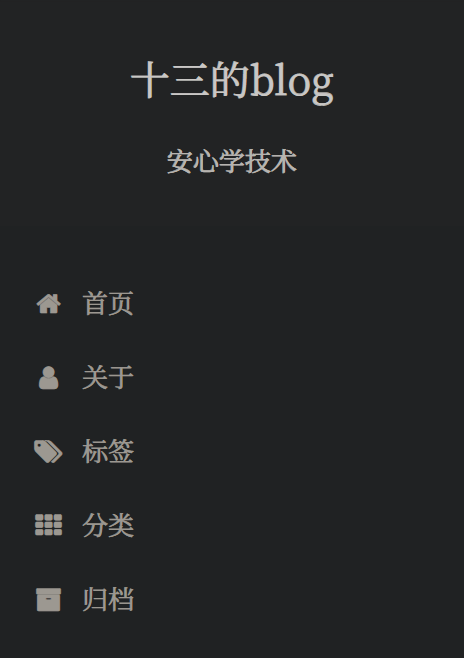
avatar: /images/avatar.jpg新增目录
侧边栏的目录项配置在next主题下的配置文件:_config.yml
menu:
  home: /|| home
  about: /about/|| user
  tags: /tags/|| tags
  categories: /categories/|| th
  archives: /archives/|| archive
  #schedule: /schedule/ || calendar
  #sitemap: /sitemap.xml || sitemap
  #commonweal: /404/ || heartbeat
可以通过下面的指令增加对应的目录,配置文件中的 || 前面不要留空格,否则标签页访问会失败
hexo new page "categories"新建文章
新增文章用下面的指令,会在默认的文件夹下新增文章(默认的是:blog/source/_posts),打开对应的路径,可以看到新增的md文件,编辑文章就可以了。
hexo new "test_article"打开md文件,可以设置文章的分类跟标签Tag
---
title: Test
date: 2021-03-25 12:52:30
tags: [Unity, C#, InjectFix]
categories: Unity开发
---
设置文章字数
先安装插件
npm i --save hexo-wordcount打开next主题下的配置文件:_config.yml
# Post wordcount display settings
# Dependencies: https://github.com/willin/hexo-wordcount
post_wordcount:
  item_text: true
  wordcount: true
  min2read: true
  totalcount: true
  separated_meta: true
wordcount:显示字数
min2read: 显示阅读时长
totalcount:博客总字数
设置文章分割(全部显示)
推荐自己在文章中插入:<!-- more --> ,也可以设置 auto_excerpt,length 表示字数。
# Automatically Excerpt. Not recommend.
# Please use <!-- more --> in the post to control excerpt accurately.
auto_excerpt:
  enable: true
  length: 150
站内搜索
npm install hexo-generator-search --save
npm install hexo-generator-searchdb --save
# Dependencies: https://github.com/flashlab/hexo-generator-search
local_search:
enable: true
# if auto, trigger search by changing input
# if manual, trigger search by pressing enter key or search button
trigger: auto
# show top n results per article, show all results by setting to -1
top_n_per_article: 1plantUML
npm install hexo-tag-plantuml{% plantuml %}
title Relationships - Class Diagram
class Dwelling {
+Int Windows
+void LockTheDoor()
}
class Apartment
class House
class Commune
class Window
class Door
Dwelling <|-down- Apartment: Inheritance
Dwelling <|-down- Commune: Inheritance
Dwelling <|-down- House: Inheritance
Dwelling "1" *-up- "many" Window: Composition
Dwelling "1" *-up- "many" Door: Composition
{% endplantuml %}效果如下:
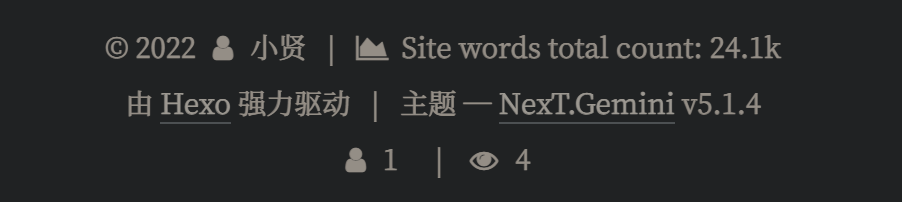
不算子统计访问量
打开 \themes\next_config.yml,搜索找到 busuanzi_count,把 enable 设置为 true,并增加如下配置:
# Show PV/UV of the website/page with busuanzi.
# Get more information on http://ibruce.info/2015/04/04/busuanzi/
busuanzi_count:
  # count values only if the other configs are false
  enable: true
  total_visitors: true  # 统计访客数
  total_visitors_icon: user
  total_views: true     # 统计访问数
  total_views_icon: eye
  post_views: true      # 统计文章阅读数
  post_views_icon: eye
在该文件中找到 footer,并在该配置下增加 counter,设置值为 true
counter: true来到 themes\next\layout_partials,找到footer.swig文件,打开编辑,在底下添加代码
{% if theme.footer.counter %}
    <script async src="//busuanzi.ibruce.info/busuanzi/2.3/busuanzi.pure.mini.js"></script>
{% endif %}
效果如下:(ps 本地测试数字会很大,可以忽视)